| HOME | PRODUCTS | FOR SALE | HOW-TO MODS | FAQ | CONTACT US | |
APureSound is not responsible for any damage you may cause your headphones while trying to perform these modifications. Please read over the entire How-To carefully to make sure you understand everything. This is not complicated, but if you are uncertain about being able to do them then do not try. You have been warned. Good luck! Click on the images below to enlarge them for a closer up look. We start with a stock HD580/600/650. (Sennheiser HD580 pictured) 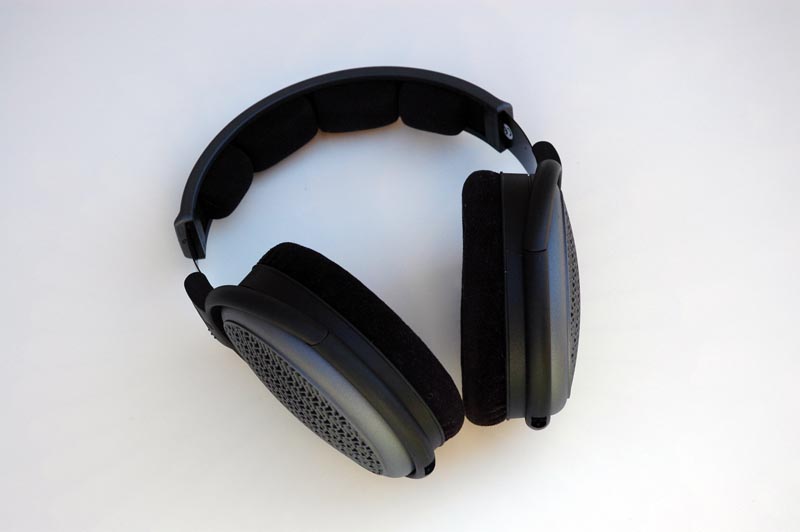 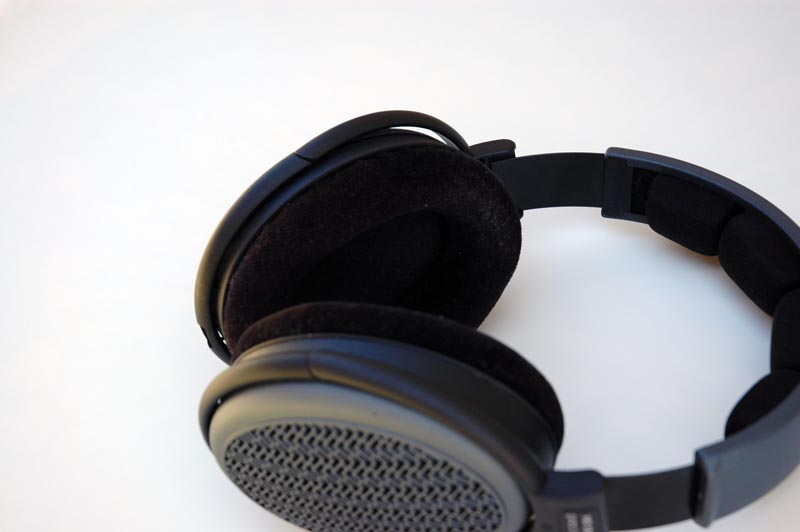  Place your nails into the outside grill and pull gently like in the picture below removing the grills from both sides. 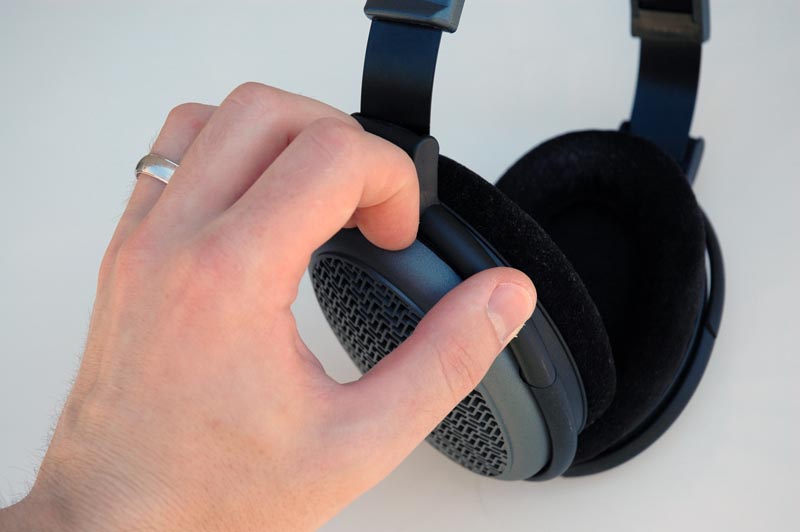 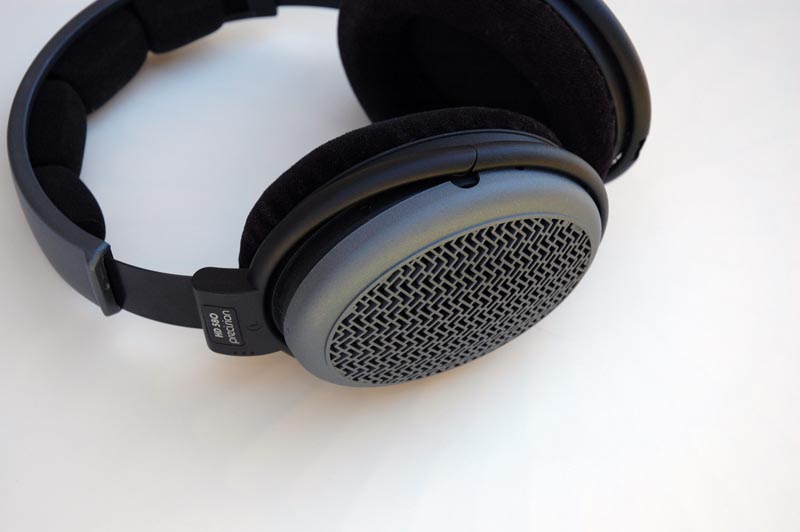 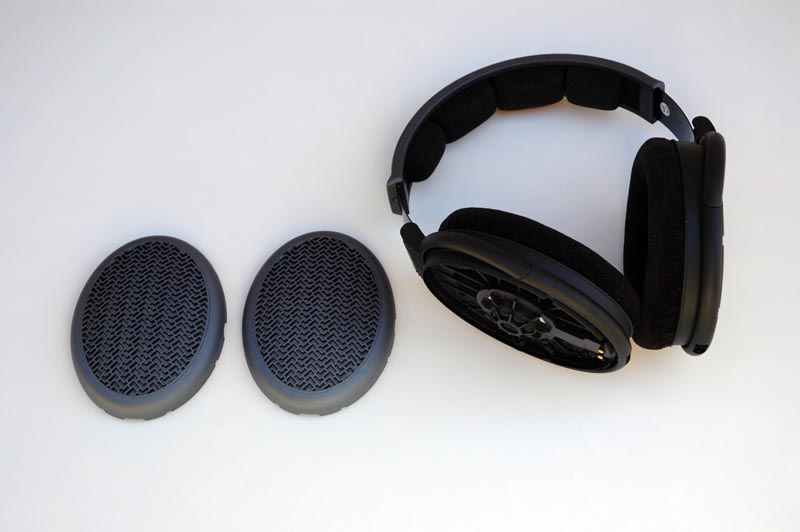 Put your fingers into the pads and with your thumb push away from the headphone to remove the pads. You may also use two hands to do this. They are just held on by clips so no fear of damage here. 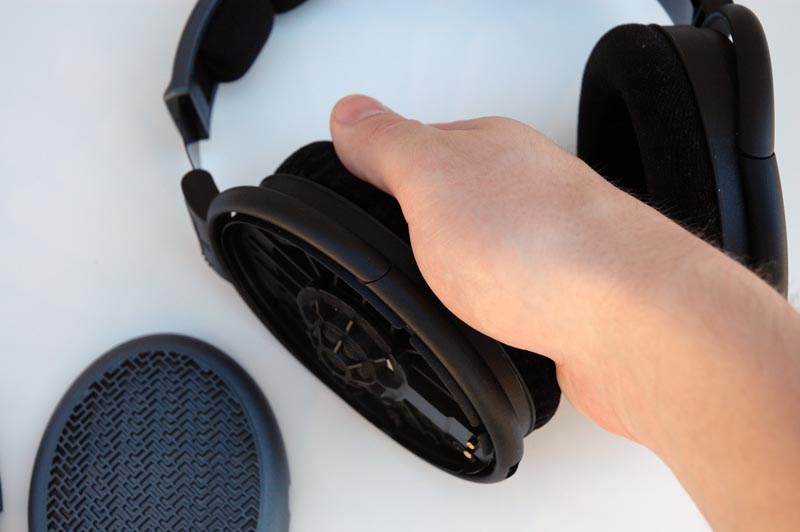  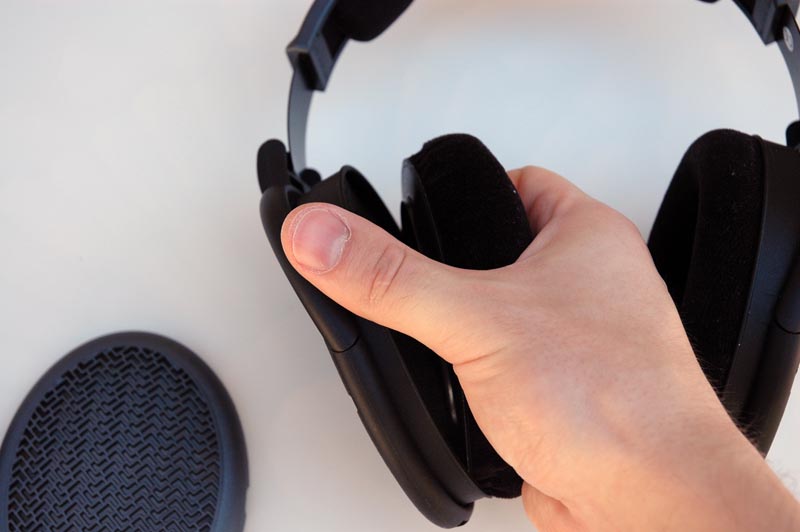 Remove the pads and foam from both sides. 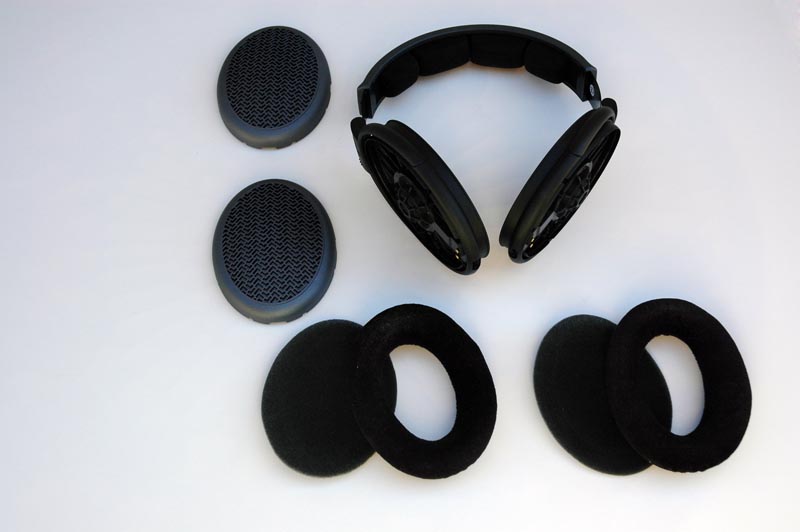 This foam is no longer needed. You may do whatever you please with it. 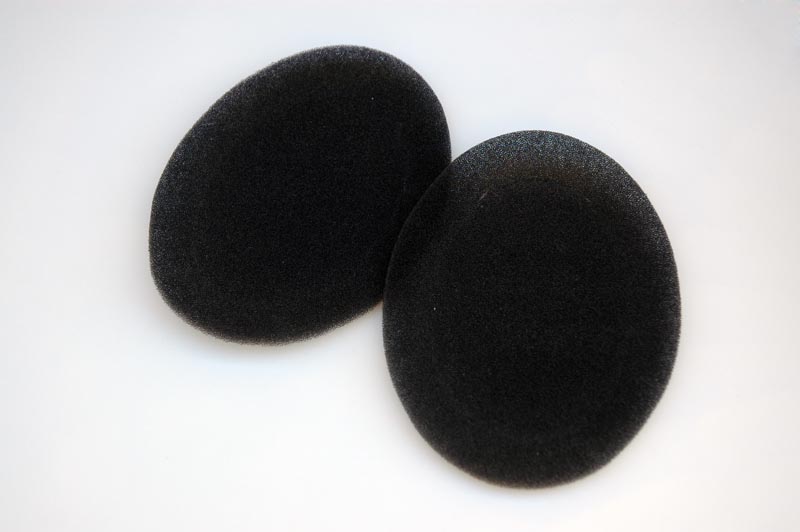 Now to install the pads back on put your index finger into the pad and start pushing down around the pad. Go in a circular motion all the way around making sure all of it fastens to the clips on the housing. 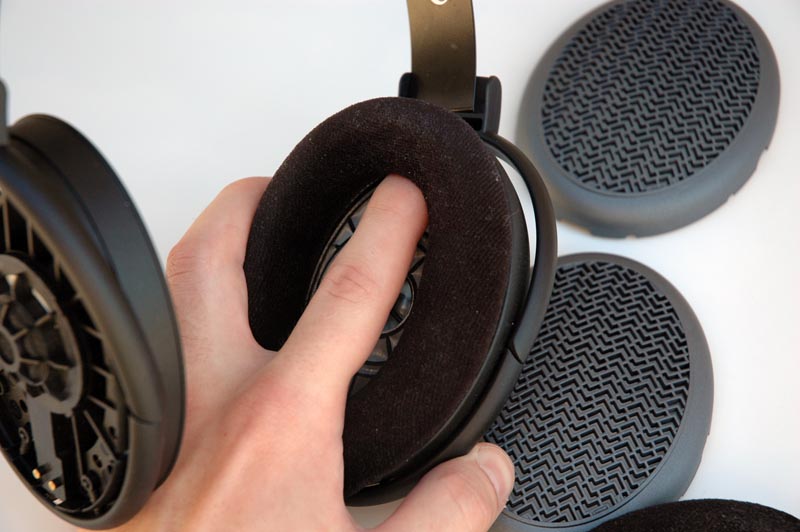 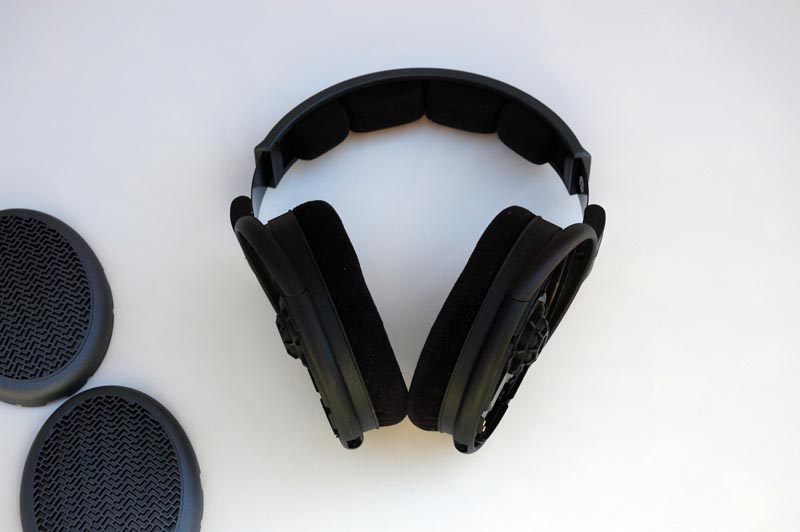 Your headphones should now look like this. (Please note that there are 2 different versions of the inside filter). Look at the very bottom of this How-To to see both possible versions. 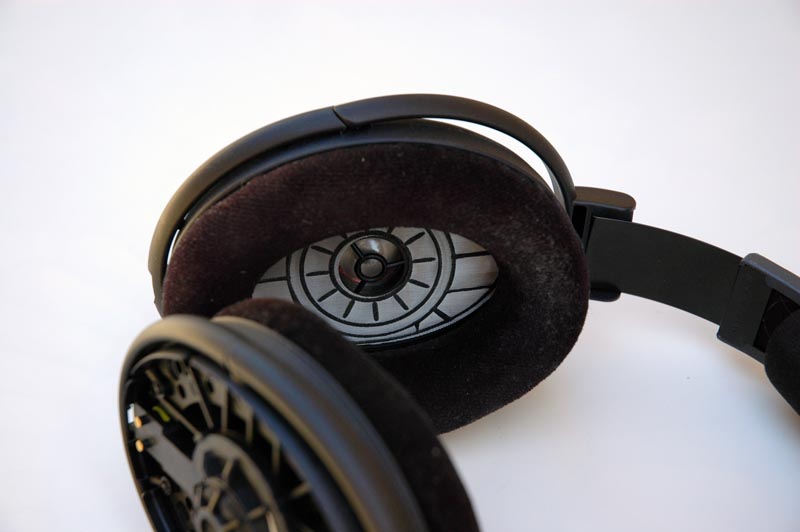 We will now focus our attention to the back side of the driver held in the housing.  You need some sort of tool that has a small end on it. It doesn't need it to be sharp, but it would help. 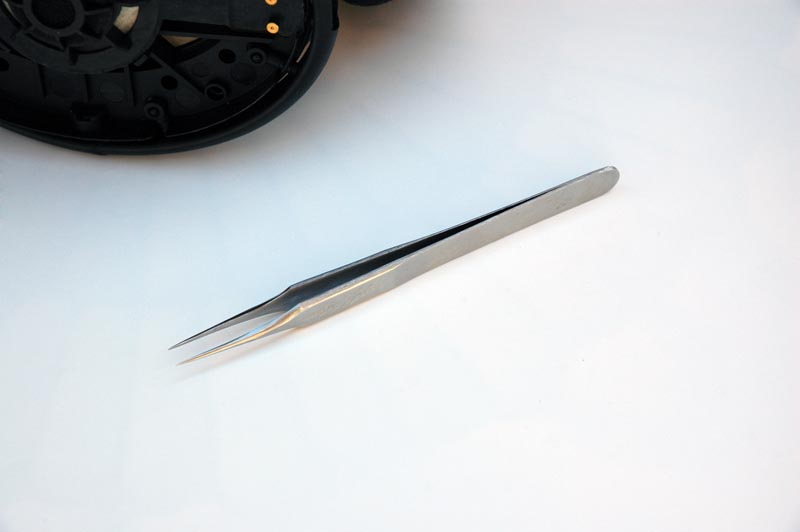 We are now going to remove the back foam cover by pushing the foam towards the middle of the driver. 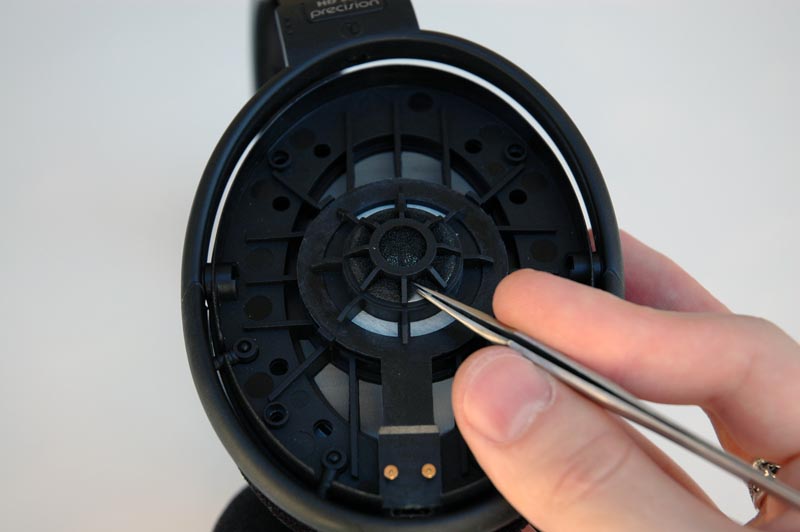  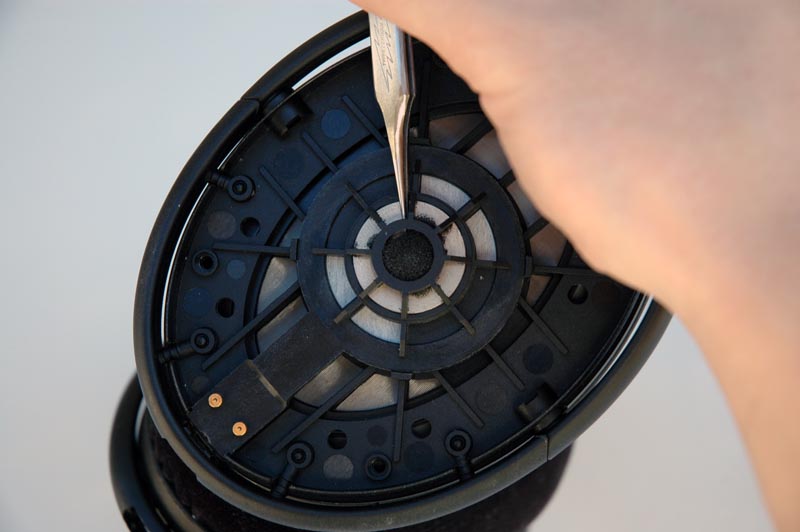 You then pull the foam out using either needle nose pliers or tweezers.  With that removed your driver should now look like the pictures below. Do the same thing to both sides.  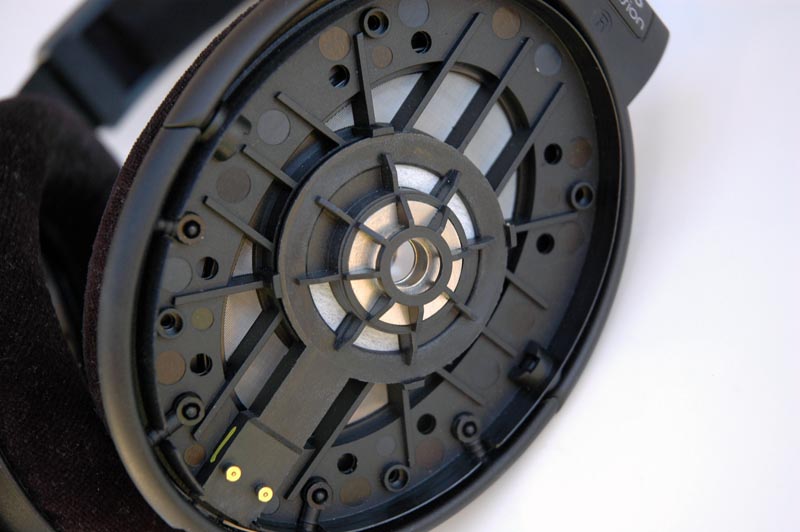 For the HD580 owners you may want to replace the outside grills of the HD580 with the ones from the HD600. To order the HD600 grilles call Sennheiser and order (2) Part #92815. They are $7.93 (each). 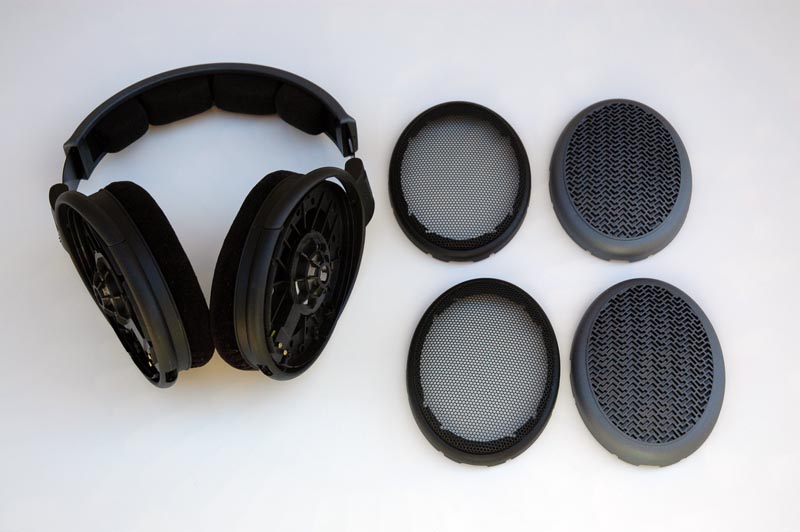 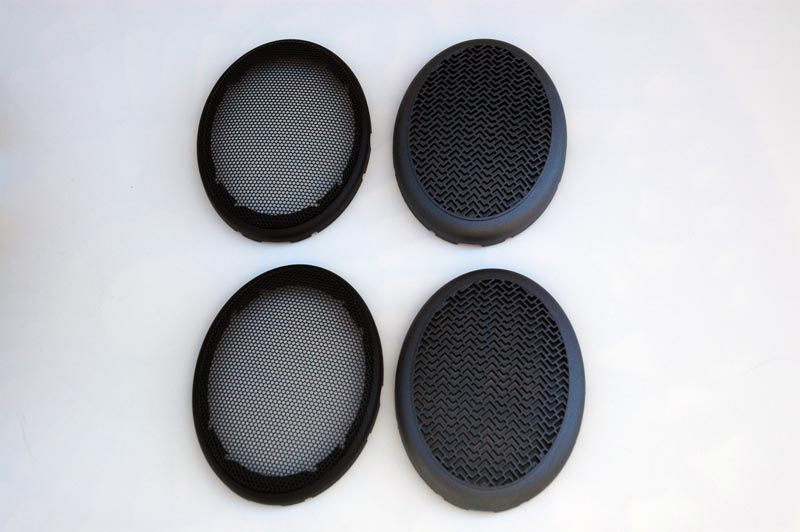 Please note that in the first picture below you see cut outs. That indicates the bottom side. The top side as in the second picture is uncut. This is important to install the covers back on.  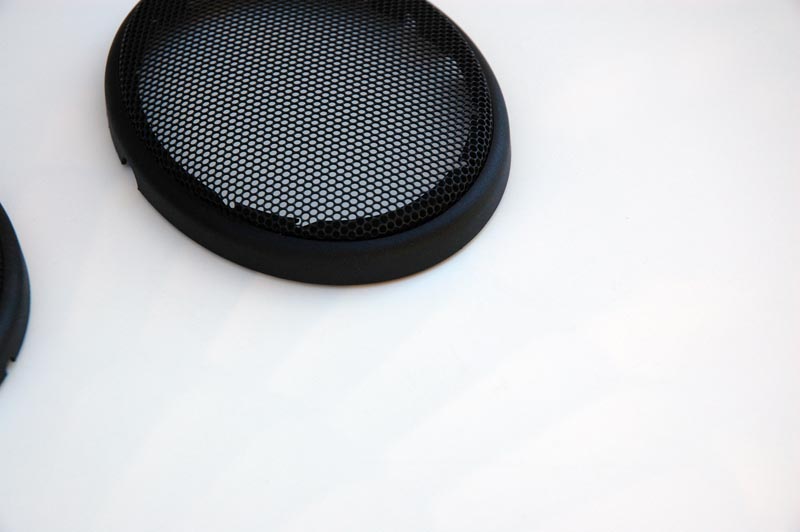 Carefully place the cover back onto the headphone housing making sure you have it aligned correctly. Carefully press the cup back into place by pressing down on the edges and working your way around the edge of the cup. Do not push on the grill itself. You will end up denting it. 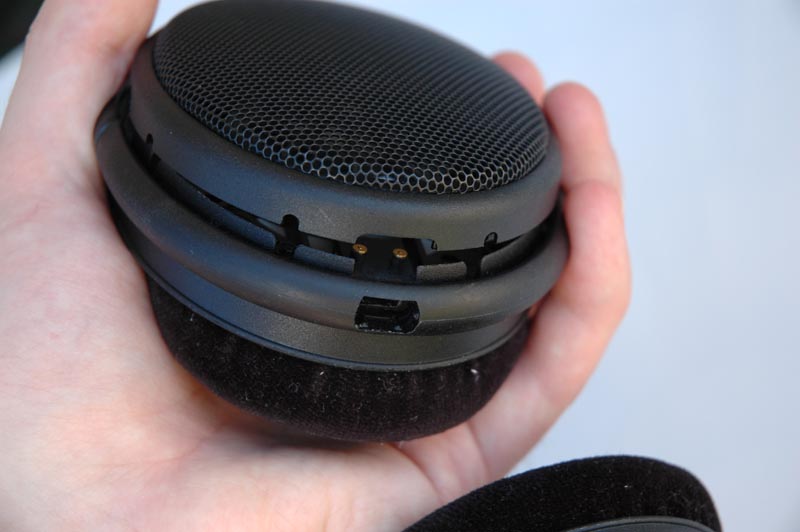 You are now finished and your headphones should look something like the headphone below. 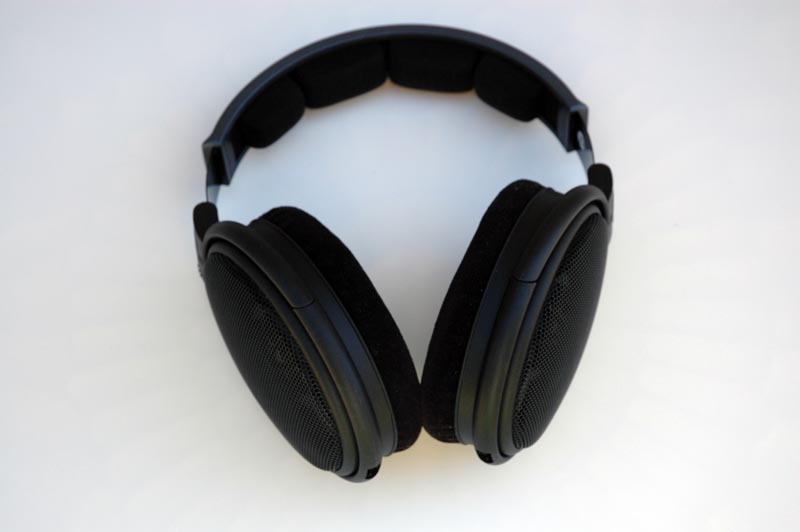 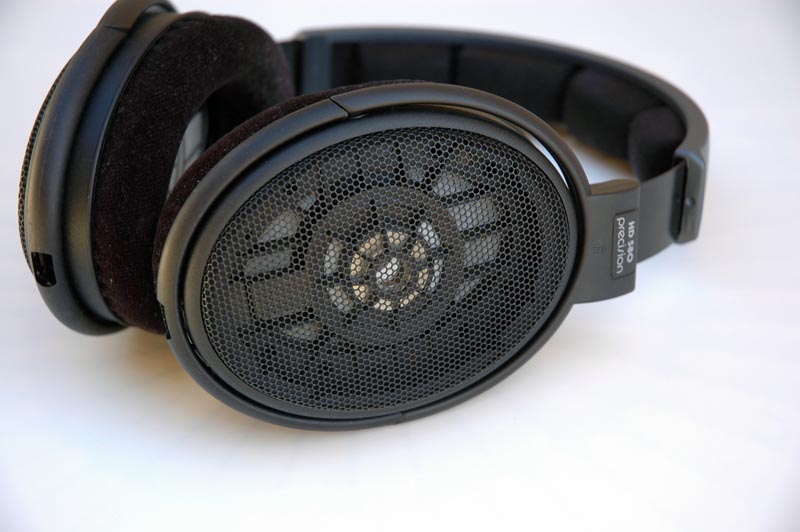 As I said above there are 2 versions of the inside filter. The first picture is of the newer model. The second picture is of the original model design. 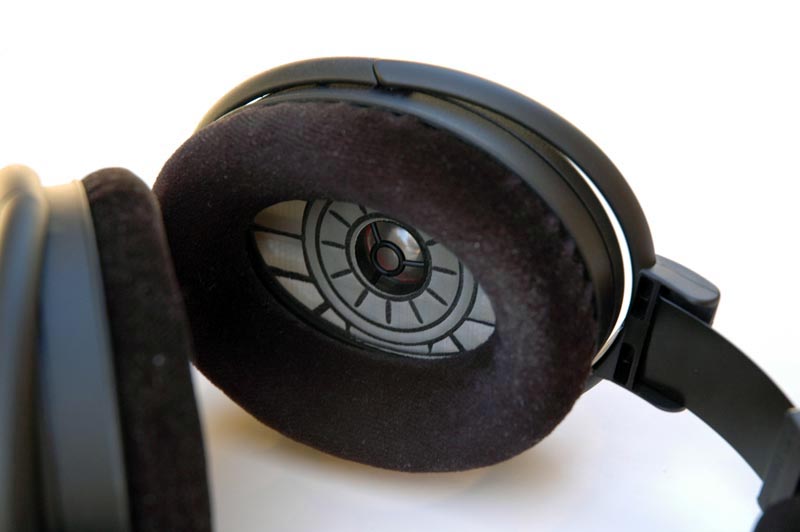 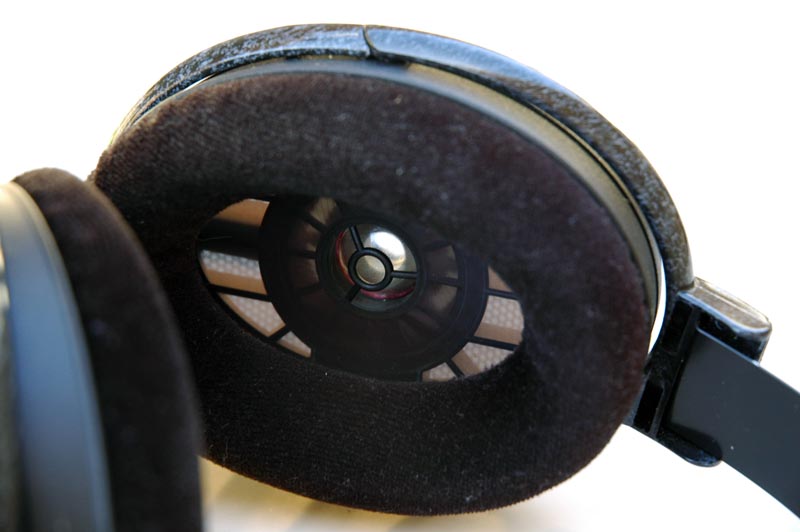 Now that your headphone is completely modded find yourself a nice upgrade cable. This will give you the best possible audio experience. Upgrade cables available HERE. If you found this How-To useful please donate so we can keep making these. © 2009 APureSound.com, All Rights Reserved. |